The article in brief
Setting up a precision sight is an art that requires patience and technique. Here are the essential points to remember if you want to become an expert:
- Initial alignment To ensure correct adjustment, make sure the viewfinder is correctly attached.
- Vertical and horizontal adjustments Adjust gradually for optimum precision
- Grouping test : the key to assessing and fine-tuning your settings
- Taking weather conditions into account adapt to the wind and the light
- Documentation and regular maintenance Keep track of your settings and check your equipment
On today's menu: precision sights! These little jewels that turn a random shot into a work of ballistic art. I still remember my first set-up - it was like trying to solve a Rubik's Cube blindfolded. But don't worry, with a little patience and the right advice, you'll become a tuning pro in no time. Let me take you through the essential steps to adjust your precision viewfinder as a true expert.
Fundamentals of viewfinder adjustment
Initial alignment: the basis of good tuning
Before you start making fine adjustments, make sure that your sight is correctly aligned with the barrel of your gun. It's like building a house: without good foundations, everything falls apart! Use a compatible mounting rail (Weaver or Picatinny) and check that the mountings are tight. A loose sight is like a dog chasing its tail: a lot of effort for nothing.
Vertical and horizontal adjustment: the art of precision
Once you've got your sight firmly in place, it's time to get down to business. The vertical and horizontal settings are essential for adjusting the trajectory of your shot. Think of yourself as an orchestra conductor, and these settings are your magic wands for directing the symphony of your shots. Here are the key steps:
- Identify the direction of the bullet or arrow fault
- Adjust in the opposite direction to the fault
- Use the adjustment knobs or screws for fine adjustments
- Carry out short-range test shots (10-25m) to fine-tune
Adjustable light intensity: see clearly in any situation
Don't forget to adjust the brightness of your red dot according to the lighting conditions. It's like adjusting the brightness of your smartphone: too bright and you'll be dazzled; too dim and you'll squint. Find the right balance for comfortable, accurate aiming. This adjustment is particularly important if you look for ways to improve your shooting accuracy.
Adjustment and optimisation techniques
The grouping test: the key to precision
What could be more exciting than grouping? It's like a fine wine, the tighter the better. After your set-up shots, take a close look at the grouping of your impacts. If your shots are scattered like chickens in a henhouse, it's time to fine-tune your settings. Adjust gradually and repeat the process until you have a grouping worthy of an elite marksman.
| Shooting distance | Ideal group size | Recommended number of shots |
|---|---|---|
| 25m | < 5 cm | 5-10 |
| 50m | < 10 cm | 5-10 |
| 100m | < 20 cm | 3-5 |
Taking weather conditions into account
Never underestimate Mother Nature! Wind and light can play tricks on your settings. It's like trying to eat soup with a fork in stormy weather: frustrating and inefficient. Learn to adjust your settings according to the weather conditions. For example, in a crosswind, aim slightly against the wind to compensate for ball deflection.
Parallax adjustment: for flawless aiming
Parallax is a bit like those optical illusions that make you doubt your eyes. The wrong setting can shift your aiming point depending on your position. To avoid this pitfall, adjust the parallax so that you can aim sharply at different distances. This is particularly important if you're using your sight for long-distance hunting or sport shooting.
Don't forget that choosing the right viewfinder is crucial. If you're wondering What accessories are essential for a firearm?A quality viewfinder is high on the list.
Mastering and perfecting
Documentation of settings: your ballistic memory
Believe me, your memory can play tricks on you. I've spent hours trying to find my perfect settings after tinkering with my viewfinder. Save yourself the headache by carefully documenting your settings. It's like keeping a diary, but for your gun. Make a note of the adjustments you make, the shooting conditions and the results you get. You'll thank yourself later!
Testing at different distances: versatility in action
Once you've made your basic settings, test your viewfinder at different distances. It's like tasting a dish at different temperatures: sometimes what tastes good hot is not so great cold. Adjust the size of the red dot or reticle according to the shooting distance to maintain optimum accuracy. Don't hesitate to use the two-eyes-open aiming technique on some models, as this can greatly improve your situational awareness.
If you're the kind of person who likes to do DIY, you should know that it's just as important to how to adjust the rise and handlebars of your weapon. This can be useful if your electronic sight fails.
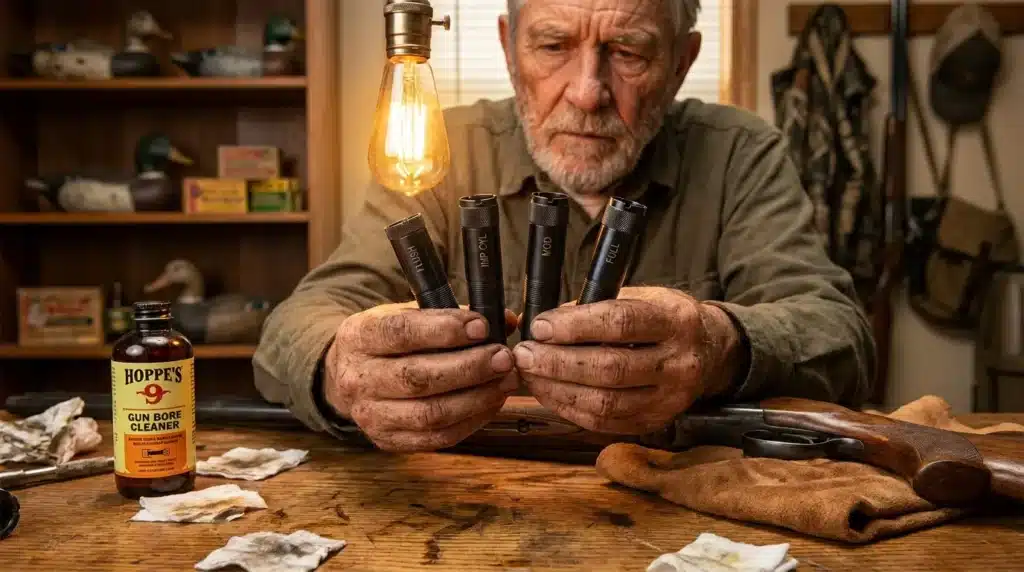
Maintenance and regular checks
A well-tuned viewfinder is like a fine watch: it needs a little attention. Regularly check and retighten the mountings on your viewfinder. Make sure it's robust and waterproof, especially if you're using it outdoors. And don't forget to check the battery life of electronic models. There's nothing worse than finding your viewfinder switched off at the crucial moment!
By following these tips, you'll soon be able to set up your precision viewfinder like a pro. Remember, practice makes perfect. So don't hesitate to spend time on the range to fine-tune your settings. Who knows, maybe the next time you're in the gun shop, you'll be the one giving advice to novices!
External sources :
firearms glossary
weapons wiki