The article in brief
This article explains how to adjust the front sight and rear sight to improve shooting accuracy.
- Essential steps for precise adjustment
- Importance of stability and suitable tools
- Techniques advances and professional tips
- Influence of outdoor conditions and choice of ammunition
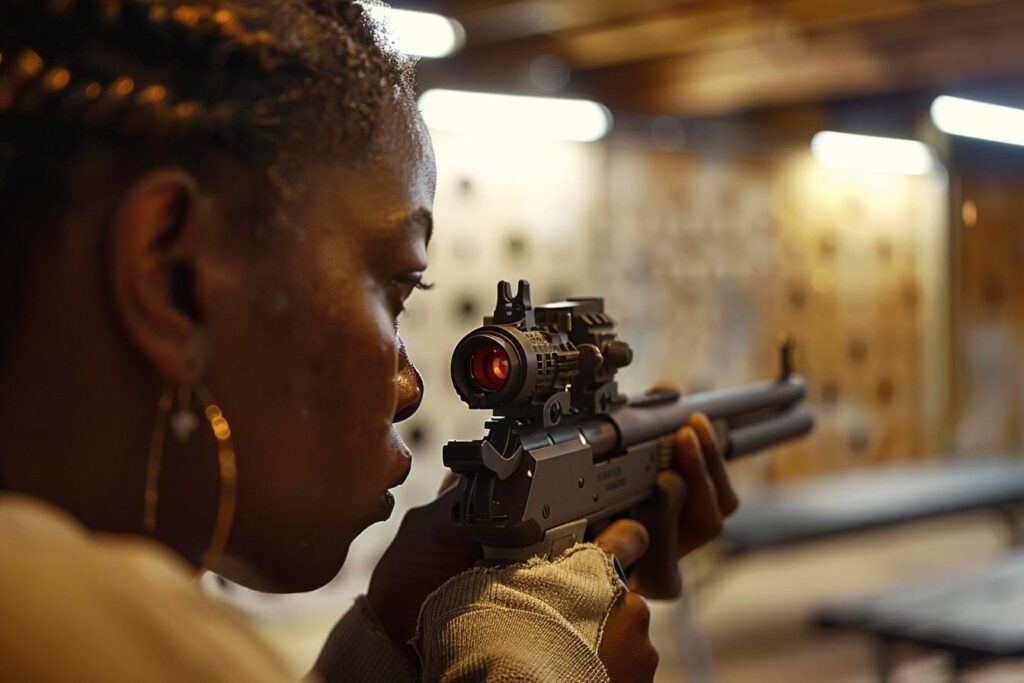
Ah, my shooting friends! Today we're going to talk about a subject that's particularly close to my heart: adjusting the front sight and rear sight. It's a subtle art that makes all the difference between an approximate shot and a precision shot worthy of the name. So fasten your seatbelts, we're off for a fine-tuning session!
The basics of front and rear sight adjustment
Before getting to the heart of the matter, let me tell you a little anecdote. The other day, a customer came to see me, all sheepish, with his brand new rifle. He was complaining that he couldn't hit his target. After a quick look, I realised straight away: his sights were completely out of whack! That's when I realised how important it is to master these settings.
For good adjust the rise and handlebarsHere are the essential steps:
- Shoot a group of 5 "good balls" to evaluate the initial setting
- Adjust the height and drift of the rise according to the position of the grouping
- Make gradual quarter-turn adjustments to the adjustment screws
- Note the effects of the adjustments (e.g. "1/4 turn = 5 cm to the left").
- Continue adjusting until you reach the centre of the target
Don't forget that patience is your best ally in this process. Rome wasn't built in a day, and neither will your perfect setting!
The importance of stability
For accurate aiming, stability is essential. Use a sandbag or trestle to hold your gun still while you adjust it. This will allow you to isolate the variables related to your position and concentrate solely on adjusting the front sight and rear sight.
The tools of the perfect setter
Like any good job, you need the right tools. For adjust the rise and handlebarsyou'll need:
- A precision screwdriver
- A clip for certain weapon models
- Specific tools for AKs and other special models
Investing in quality tools means investing in the accuracy of your shots. Believe me, it's worth it!
Subtle differences between models
Each gun has its own particularities. For example, on a G3, only the eyecup can be adjusted, not the front sight. For AKs, the front sight can be adjusted for height by screwing it in and out, and for drift by pushing it sideways. It's like with cars, each model has its own character!
Advanced techniques for optimum tuning
Now that we've seen the basics, let's move on to the more advanced techniques. This is where it gets really interesting, believe me! I've seen shooters completely transform their accuracy thanks to these tricks.
Here is a table summarising the effects of a small shift in the handlebars:
| Handlebar offset | Effect at 25m | Effect at 100m |
|---|---|---|
| 0.1mm | 15mm | 60mm |
| 0.2mm | 30mm | 120mm |
| 0.5mm | 75mm | 300mm |
Impressive, isn't it? That's why it's often said that good tuning does half the job!
The art of progressive adjustment
The secret of a good setting is to be progressive. Start by shooting at a large target, such as a tablecloth (yes, a tablecloth!), if your initial setting is very off. Once you've made the rough adjustment, move on to a standard C50 target. It's like tuning a guitar: first the big adjustments, then the fine ones.
The influence of external conditions
Don't forget that the setting can vary depending on the shooting distance and light conditions. It's the same as for the Walther PPQ M2which can be affected by external conditions. Test your setting in different conditions to be sure of its reliability.
The importance of choosing the right ammunition
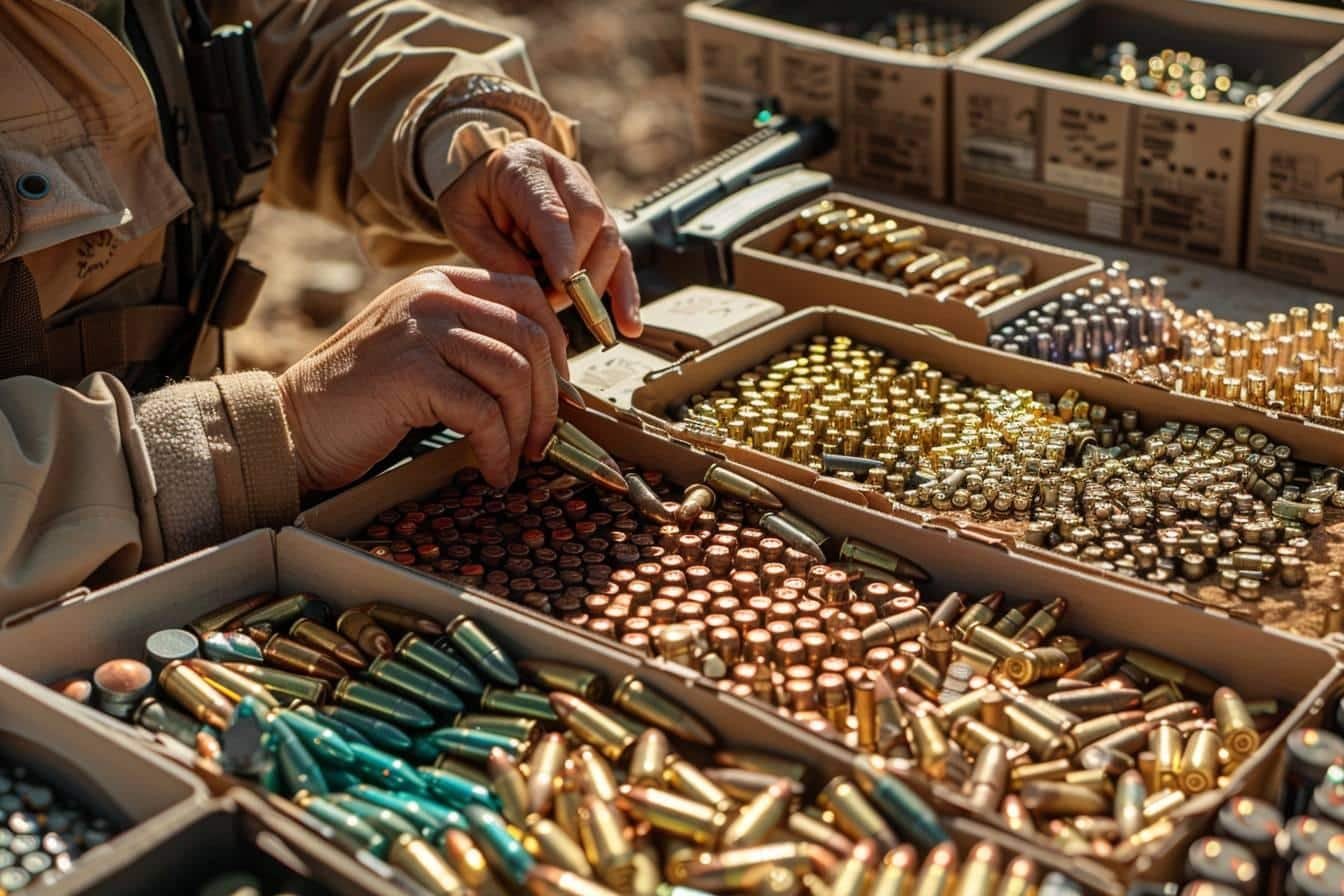
One aspect that is often overlooked is the choice of ammunition. Test different ammunition to maximise accuracy. I've seen shooters improve their accuracy simply by changing brands of ammunition. It's like choosing the right fuel for your car!
Pro tips for perfecting your aim
Do you really want to take your business to the next level? Here are a few tips I've learnt over the years:
1. Check for shooting faults Use empty sockets to detect finger taps or other tics that could affect your accuracy.
2. Explore the different types of handlebars and fetlocks There are normal and contrasting models. Try them out to see which suits your eyesight best.
3. Take parallax into account On certain weapons, such as the Glock 17 or Glock 19The position of your eye in relation to the rise can influence the point of impact.
4. Make a note of your settings Keep a small notebook with your settings for each distance and condition. It'll save you an incredible amount of time in the long run!
At the end of the day, adjusting the rise and handlebars is a bit like baking. It takes precision, patience and a dash of creativity. But once you've mastered the art, the result is simply delicious... er, I mean, precise!
Remember, practice makes perfect. So get set, and may precision be with you!
Sources :
