The article in brief
Adjusting the front sight and rear sight is a delicate art, essential for accurate shooting. Here are the key points:
- Fundamental principle move the rise in the same direction that the desired shift in impact
- Method adjustment by groups of 5 "good" balls
- Mistakes to avoid focusing on the target instead of the handlebar, angular error
- Technical use the rule of three to calculate the exact displacement required
- Open sights simple and effective for rapid fire, but limited in distance
Le adjusting the rise and handlebars is a delicate art that can make all the difference between an accurate shot and a miss. As a passionate gunsmith, I'm going to share my tips for mastering this crucial aspect of shooting. Get ready to hone your aim like never before!
Basic principles of front and rear sight adjustment
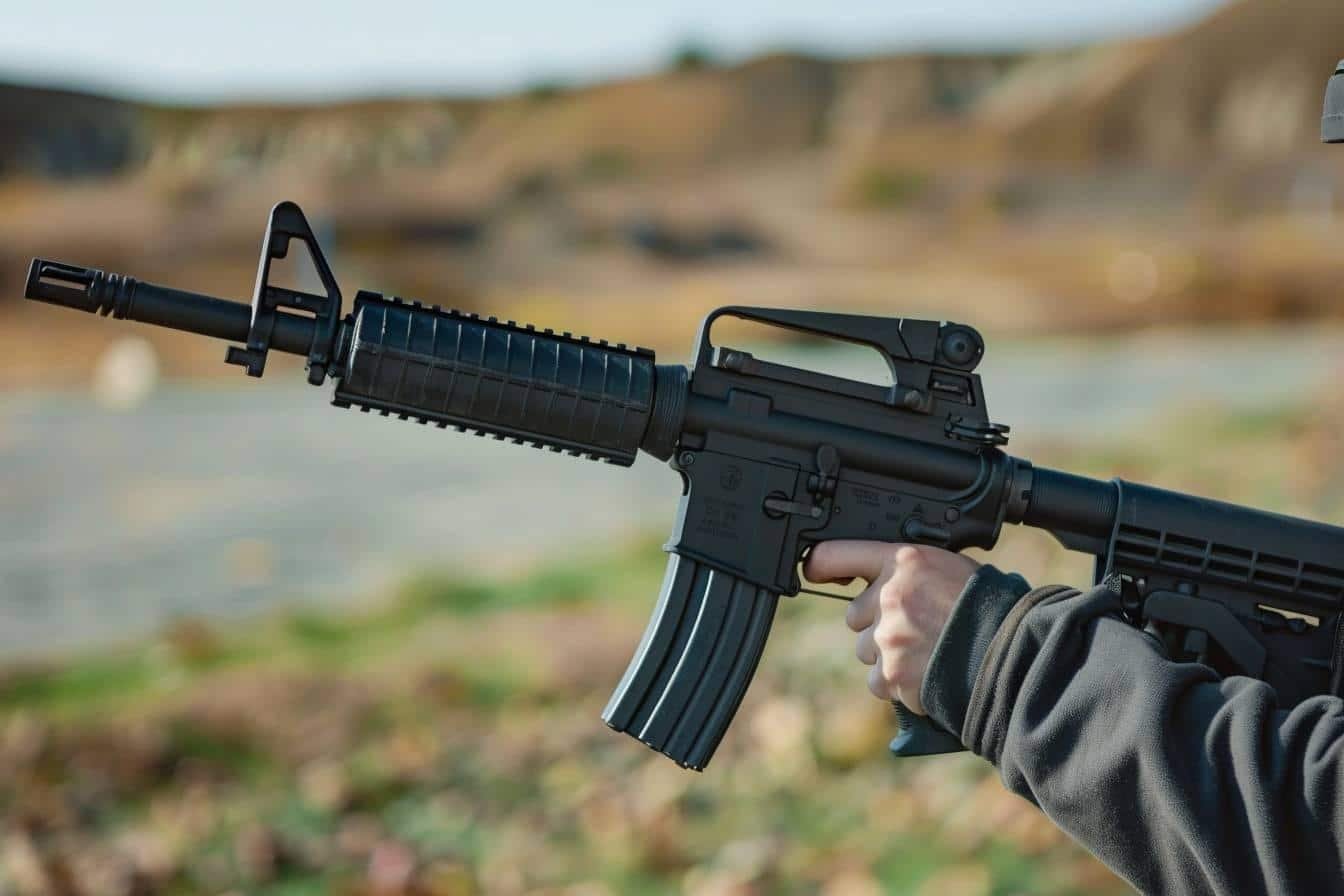
Let's start with the basics. The general principle is simple: to adjust your shot, move the rear sight in the same direction as the desired target impact. For example, if your shots are too low, move the rear sight up. If your hits are too far to the right, move the rear sight to the left.
But be careful! On some guns, the front sight, not the rear sight, is used to adjust the drift. In this case, the correction is reversed: if you want to shoot too far to the left, move the front sight to the left. It's a bit counter-intuitive at first, but you'll soon get the hang of it.
One piece of advice I always give my customers: aim just below the black of the target and concentrate solely on the front sight. This is the key to accurate aiming. Believe me, I've seen too many shooters neglect this aspect and be surprised at their mediocre results.
Grouping adjustment method
For best results, I recommend shooting groups of 5 "good" bullets. Take your time and breathe calmly between each shot. If necessary, spread your shots over several sessions. Patience is your best ally in this exercise.
Don't forget to make a note of any corrections you make. For example: "1/4 turn = 5 cm to the left". These notes will be invaluable in fine-tuning your future settings and understanding the behaviour of your weapon.
Factors influencing the setting
Bear in mind that the setting may vary depending on the shooting distance and light conditions. What's perfect for a shot at 25 metres on a clear day won't necessarily be so for a shot at 100 metres at dusk. Adapt to the conditions and don't hesitate to make adjustments.
Common mistakes and how to avoid them
Over the years, I've seen shooters come into my armoury frustrated by their lack of accuracy. Here are the most common mistakes I've seen:
The focus error
The most common is to concentrate on the target and neglect the handlebar/riser alignment. It's tempting, I grant you, but it's a recipe for disaster. Remember: the handlebar is your best friend. Cherish it, concentrate on it, and your accuracy will improve dramatically.
Angular error vs. parallel error
Watch out for angular error! A small offset of the front sight in relation to the front sight will result in a large on-target error. This is much more problematic than parallel error, where the error on target is simply equal to the front sight offset. Here's a little table to illustrate the difference:
| Type of error | Impact on precision | Correction |
|---|---|---|
| Angular | High | Review |
| Parallel | Moderate | Easier |
I remember one customer who couldn't understand why his shots were so scattered. After observation, I noticed that he was tilting his gun slightly with each shot, creating an angular error. Once corrected, his accuracy improved dramatically!

Focusing techniques for precise aiming
Now that we've seen the mistakes to avoid, let's move on to the techniques for refining your aim. Here are a few tips I've picked up over the years:
The golden rule of tuning
Remember this general rule: move the front sight away from the point of impact and the handlebars in the same direction. It's counter-intuitive at first, but it will soon become natural.
Calculating displacement
To calculate exactly how far you need to move the sight, use a rule of three. For example, if your hits are 20 cm too far to the left at 50 metres, you'll need to move the sight 2 mm to the right for a 50 cm line of sight. It's simple and effective!
- 20 cm to the left at 50 m = 2 mm movement of the frog to the right
- 10 cm too high at 25 m = 1 mm downward movement of the rise
I always carry a small calculator in my pocket to help my clients make these calculations. Believe me, it's always impressive!
Advantages and limitations of open sights
The open view is a bit like a faithful old friend. It has its qualities and its faults, but we love it just the same. Let me tell you a bit more about it.
The strengths of open sights
Open sights have undeniable advantages: they are simple, mechanically reliable and highly effective for instinctive or close-range shooting. It's ideal for stalking or fast sports shooting. What's more, unlike some sophisticated optics, it is not affected by fog or rain.
I have a customer who swears by open sights for his hunting. He told me how he managed to make a dazzling shot at a running wild boar thanks to the speed with which he acquired his open sights. Impressive!
Limits to be aware of
But open sights also have their limits. The main difficulty lies in focusing the front sight, front sight and target simultaneously. This is a real challenge for the human eye, especially as we age. What's more, accuracy becomes limited at distance, particularly when the target is covered by the front sight.
To overcome these drawbacks, some manufacturers offer fluorescent or fibre optic inserts for improved visibility. It's a good compromise between tradition and modernity.
Ultimately, the rise and handlebar adjustment is an art that requires patience and practice. But once you've mastered it, you'll enjoy incomparable precision and satisfaction. So, ready to hone your aim?
Sources :


1 thought on “Réglage hausse et guidon : conseils pour une visée précise”